
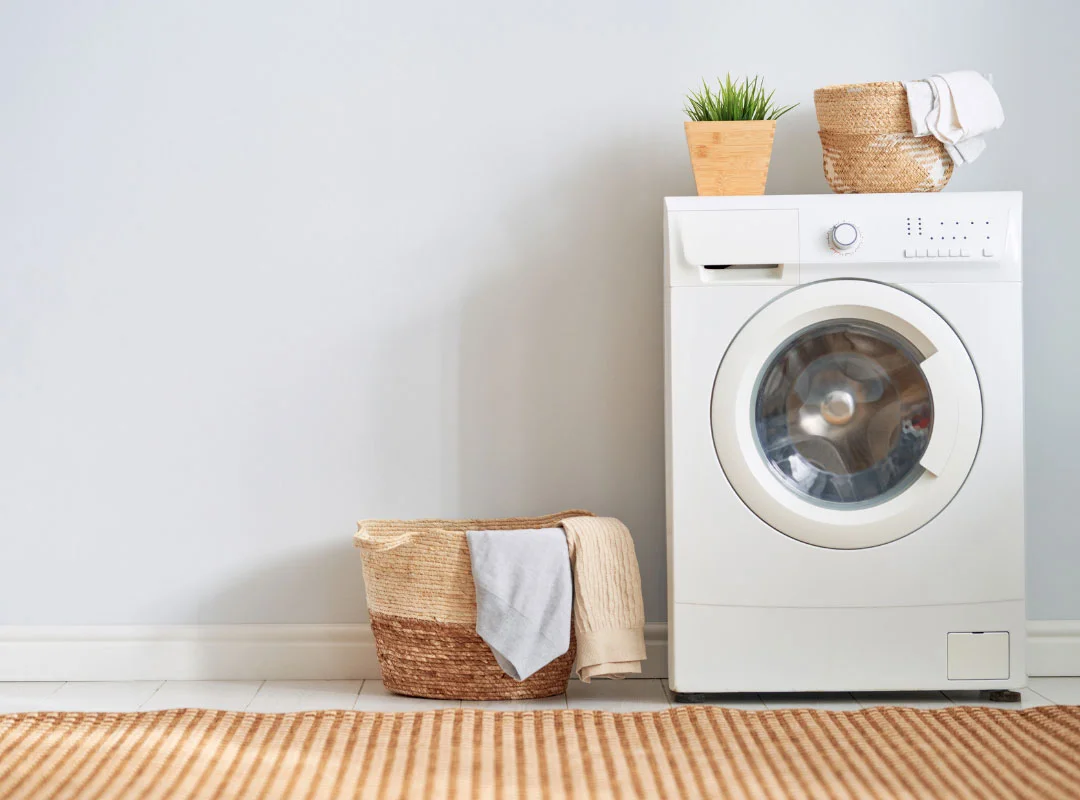
If you’re in the process of moving house or you’re looking to replace your existing washing machine, learning how to move a washing machine could save you a headache on moving day. Manoeuvring heavy appliances needs to be done carefully to avoid any injuries to you, or damage to the machine; our Health and Safety Manager, David Smedley, is here to offer his expert advice on moving heavy objects safely.
If you don’t feel confident moving such a heavy item, you could consider hiring moving experts who can be on hand during the whole process, to help ease some of the moving-home stresses. Our free removals service is a great option for those putting items in storage and looking for a helping hand with the moving process.
What tools or equipment will I need?
- Old towels: useful for everything from cleaning the area to providing extra padding during the journey
- A dolly or trolley: wheeled equipment will make moving heavy appliances much easier
- Bubble wrap: to avoid any cosmetic damage to both your washing machine and your vehicle, bubble wrap will help stop any scratches or dents
- A 10mm spanner: this will come in handy to remove your transit bolts (this spanner might have been included with your washing machine, so check your manual before you get started)
Preparing to move
It’s important to prepare your washing machine before you come to move it. Make sure the machine is empty of any laundry, then remove cleaning products and clothing from the top and sides of the appliance. This will stop anything from getting in the way while you’re trying to move it. It’s also a good idea to make sure the path from your washing machine to your door is clear, so you don’t have to manoeuvre around any obstacles in your way.
Moving your washing machine
Step One: Turn off the power
Before you start to move the machine, don’t forget to turn off the power and unplug it from the mains. You don’t want to cause any damage to the cables, so make sure to check this beforehand.
Step Two: Turn off your water and wipe away any excess
Similarly, turn off your water supply before you get started, to make sure you don’t flood your kitchen. It’s likely that some excess water will escape from your washing machine while you’re preparing it to be moved, so use your towels to remove any excess water from your floor and wipe down the machine.
Step Three: Disconnect your machine
Once any excess water has been taken care of, you will then need to disconnect your cold water pipe and drain hose from your machine. To do this, carefully unscrew each pipe from the back of your machine, holding each one up as you do to catch any sitting water. Keep the towels handy, as there may be small amounts of water from each hose that you will need to wipe away.
David Smedley suggests storing your pipes inside the drum of your washing machine while it’s being transported: “trailing pipes or loose fixtures are much more likely to become a hazard if they’re not fully secured. Storing them inside the drum also means you can reinstall your machine much more quickly.”
Step Four: Fix the transit bolts
Most washing machines come with transit bolts, to help protect the drum while it’s being transported, and keep mechanical elements in place. Keep your transit bolts handy once you’ve connected your washer, as you’ll need them if you ever move you washing machine again. If you don’t fix the bolts, you’re more at risk of your machine becoming damaged while transporting it to its new location.
Step Five: Protect your appliance
Before you move your washing machine, wrap it in blankets, towels or bubble wrap to protect it from any scuffs and dents, and reduce the risk of sharp corners causing any injuries.
Step Six: Moving your machine
Washing machines are heavy appliances so it will require two people to shift it out of its current spot. If you don’t have a dolly or trolley and decide to carry the appliance to your moving van, make sure you’re holding it from the base with straight backs to avoid any injuries.
David Smedley says, “it’s important to protect your back when you’re manoeuvring heavy objects. To balance the weight of your washing machine, bend from the knees when you pick it up, and hold it as waist-level to maintain your centre of gravity.” Browse our expert guide on lifting and loading for more advice.
If you’re using wheeled equipment, carefully lift the machine to sit on top of it and securely fasten it down to avoid the washer from falling over while it’s being manoeuvred.
Step Seven: Securing for transportation
Once you’ve loaded the machine onto your truck, trailer or car, make sure there’s no risk of it toppling over in transit by leaving as little room around it as you can during your journey. The towels or bubble wrap used to protect it will come in handy here too, absorbing any shocks during the journey. Drive slowly and tackle corners and bumps in the road carefully to avoid your washing machine getting bumped.
Be sure not to place your washing machine on its side while you transport it. Keeping it upright ensures that the internal suspension system doesn’t get damaged.
Setting up your appliance
- Make sure the ground is level: when you arrive at your new location, check to make sure that the floor is level before you move in your machine. An unlevelled washing machine will get loud when it’s run and can cause damage to the floorboards beneath it.
- Check that your plug sockets are close by: you’ll need to connect your washing machine back into the mains, so make sure the plug is in easy reach.
- Connect the waste hose: the waste hose connects the back of your machine to the drains. Most waste hoses can be connected to your drains via a vertical pipe, or next to the U-bend on your kitchen sink.
- Reconnect the water supply: check your appliance’s instruction manual to find out whether your machine has a single cold water pipe, or hot and cold-water supply. Most modern washing machines use a single cold water supply pipe only. To reconnect this pipe, screw it into the back of your machine, and then screw it into the cold water supply.
- Remove the transit bolts: remember to remove your transit bolts now your machine has reached its new home, and store them somewhere safe.
- Check the drum: before turning on the machine and using it for the first time in your new location, double-check that nothing has been stored in the drum to avoid any damage.
If you need to store your washing appliance in a secure location while you’re waiting to move into your new home, you could consider a personal storage unit. This safe and secure option will make sure that your washer can be stored properly until you need it, without taking up valuable space in your home.